Cart
0
You may also like
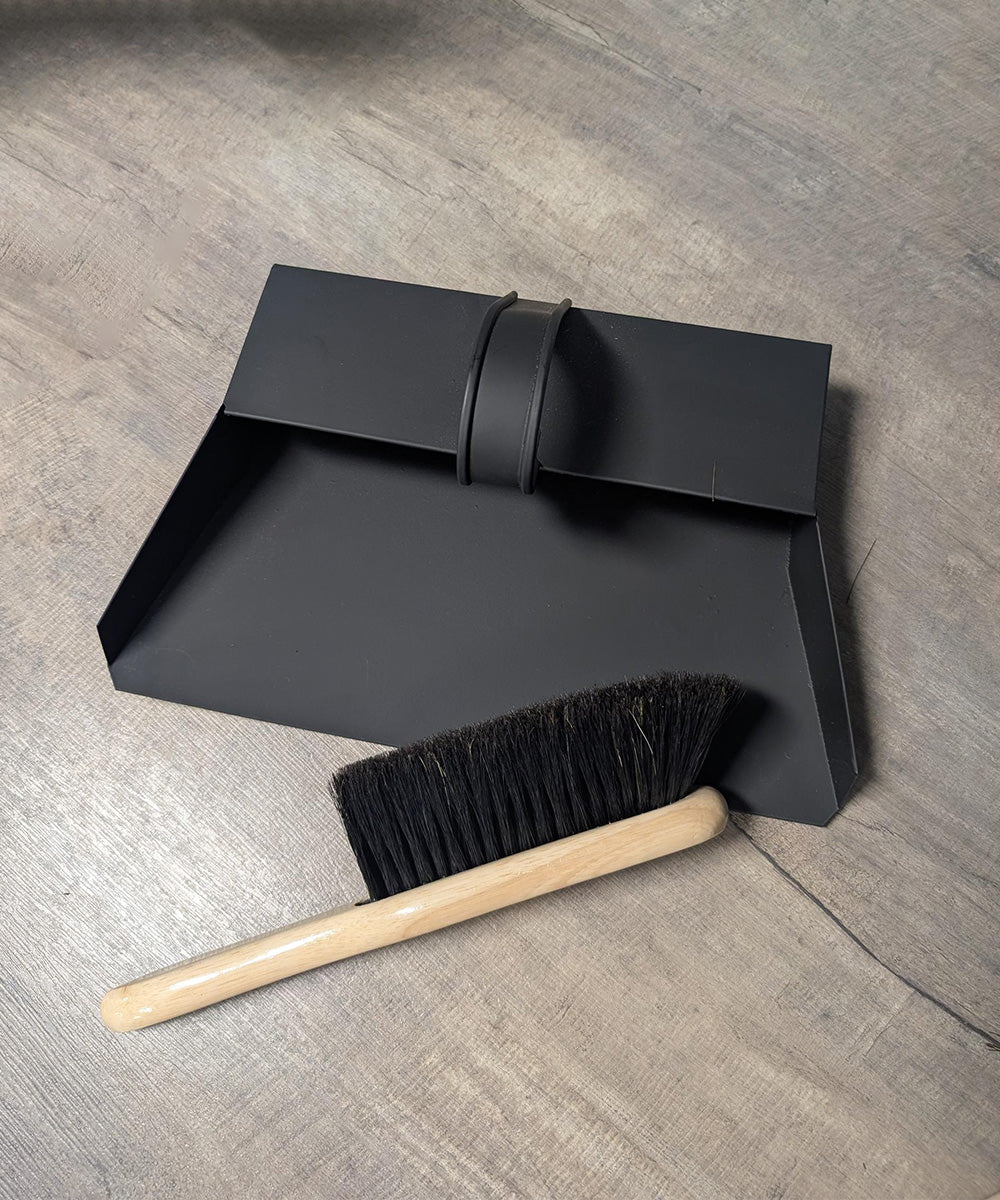
Finest by Hillbrush Dustpan & Boar Bristle Brush Set (Extra Soft)
Regular price
£29.99
+ Add to Cart

 Now Available! Buy Now, Pay Later with Klarna
Enjoy FREE delivery on all orders over £100.
Now Available! Buy Now, Pay Later with Klarna
Enjoy FREE delivery on all orders over £100.
Now Available! Buy Now, Pay Later with Klarna
Enjoy FREE delivery on all orders over £100.
Now Available! Buy Now, Pay Later with Klarna
Enjoy FREE delivery on all orders over £100.
Now Available! Buy Now, Pay Later with Klarna
Enjoy FREE delivery on all orders over £100.
Now Available! Buy Now, Pay Later with Klarna
Enjoy FREE delivery on all orders over £100.
Now Available! Buy Now, Pay Later with Klarna
Enjoy FREE delivery on all orders over £100.
Now Available! Buy Now, Pay Later with Klarna
Enjoy FREE delivery on all orders over £100.
Now Available! Buy Now, Pay Later with Klarna
Enjoy FREE delivery on all orders over £100.
Now Available! Buy Now, Pay Later with Klarna
Enjoy FREE delivery on all orders over £100.
Now Available! Buy Now, Pay Later with Klarna
Enjoy FREE delivery on all orders over £100.
Now Available! Buy Now, Pay Later with Klarna
Enjoy FREE delivery on all orders over £100.
Now Available! Buy Now, Pay Later with Klarna
Enjoy FREE delivery on all orders over £100.
Now Available! Buy Now, Pay Later with Klarna
Enjoy FREE delivery on all orders over £100.
Now Available! Buy Now, Pay Later with Klarna
Enjoy FREE delivery on all orders over £100.
Now Available! Buy Now, Pay Later with Klarna
Enjoy FREE delivery on all orders over £100.
Now Available! Buy Now, Pay Later with Klarna
Enjoy FREE delivery on all orders over £100.
Now Available! Buy Now, Pay Later with Klarna
Enjoy FREE delivery on all orders over £100.
Now Available! Buy Now, Pay Later with Klarna
Enjoy FREE delivery on all orders over £100.
Now Available! Buy Now, Pay Later with Klarna
Enjoy FREE delivery on all orders over £100.
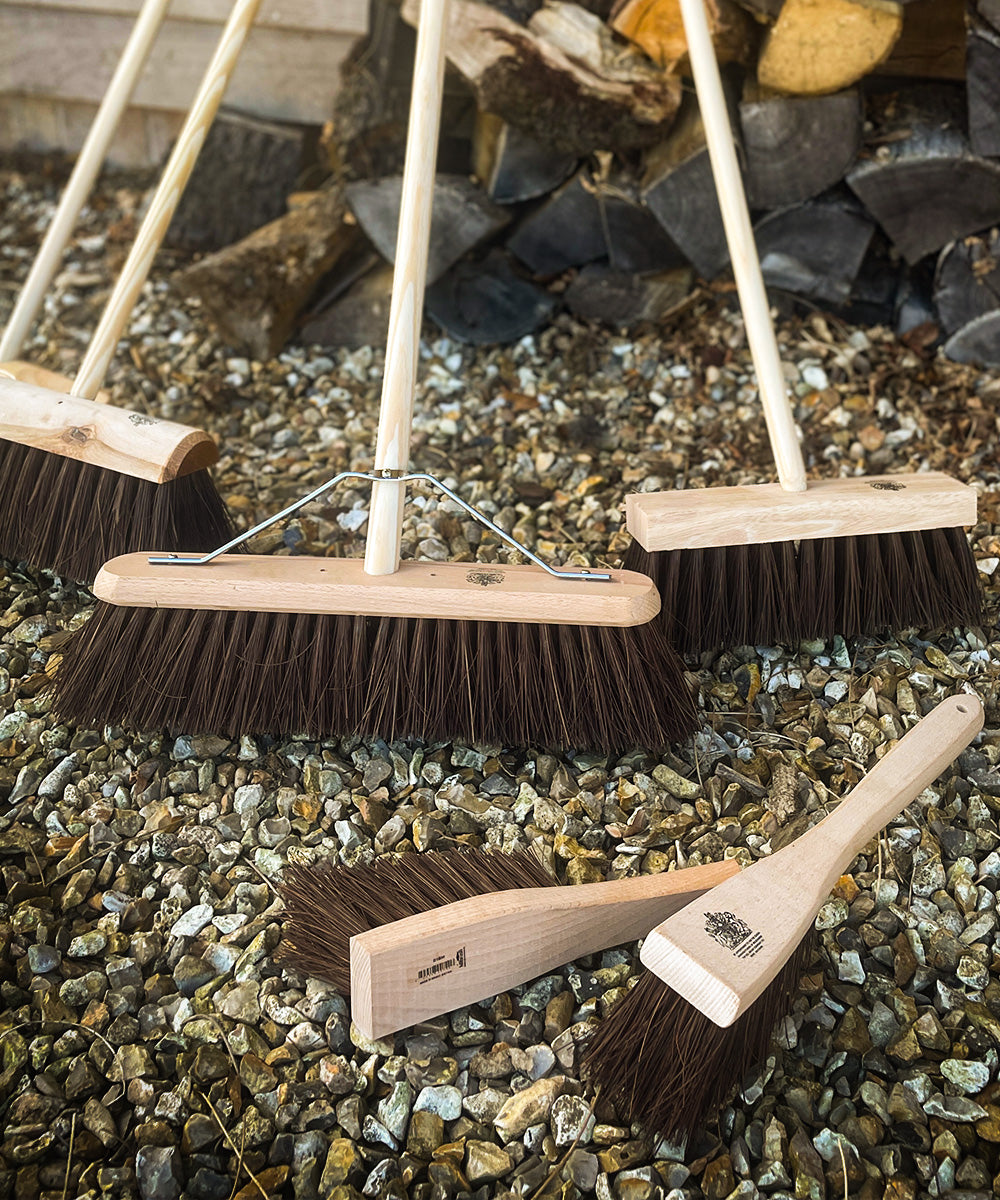
Follow these easy steps to assemble you new sweeping broom.